Do you want to create better images for your blog posts?
Images create a huge impact on how users engage with your content. However, most users are not designers and are unable to create professional-looking images for their blogs.
In this article, we will show you some of the best tools to create better images for your blog posts.
Why Create Better Images for Blog Posts?
The truth is most blogs don’t take the time to add quality images and the ones that do often use overused stock photos that dilute the brand’s credibility.
Your readers want information fast, and they don’t want to struggle to read or digest your content. They want to understand the information quickly and decide whether it’s valuable to them or not.
Here are just a few reasons you need to create better images for your blog posts.
- Improves reader experience: Images break up long blobs of text, allowing readers to easily see when you are separating points. In tutorials, you can show screenshots with arrows so readers can quickly follow along. Infographics can be used to visually summarize key points.
- Increases engagement: Readers are more likely to engage. Blog posts with images receive 94% more views than ones without visuals. Also, visual content gets 150% more retweets.
- Boosts SEO: Readers will stay on your page and are less likely to bounce. Thus, it increases your dwell time. This leads to higher SEO rankings and more website traffic.
Now, the problem is that most bloggers are not graphic designers. They cannot create professional-looking graphics for their websites.
Part of this problem can be solved by using public domain or CC0-Licensed images. However, you may still need to edit those images.
Luckily, there are many tools that help you edit and create beautiful images for blog posts, infographics, presentations, and even Facebook posts.
Let’s take a look at some of the best tools to create better images for your blog posts. Feel free to use the links to jump to any tool that you’re curious about.
These are definitely not the only image-creation tools out there, but in our experience, these are the ones that will give you the best results.
1. Canva
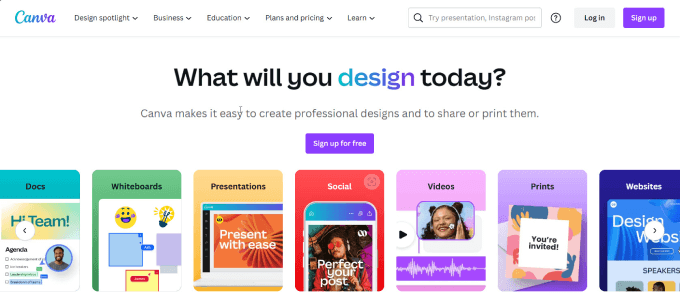
Canva is the most complete graphic design tool for most small business owners, writers, entrepreneurs, and marketers. It lets you create stunning blog images without being a pro graphic designer.
Canva was made as the beginner-friendly version of Adobe Photoshop, which requires a higher learning curve to use. It has a drag-and-drop interface, so you can easily add templates, icons, images, texts, and filters.
One of Canva’s best features is the ability to enhance photos. You can adjust brightness, contrast, tint, blur, and remove backgrounds. As a member of their Pro Plan, you get access to 100+ million photos and videos and 420,000 templates.
Pro members can develop a brand kit in Canva, which allows you to house all of your brand assets, such as fonts, color palettes, and logos, in one place. This is great for blogs with a team of contributors so that you can ensure all images maintain consistency and align with your brand guidelines. As an alternative, we also recommend Brandy for managing your brand assets.
Canva is such a diverse tool that you can design everything from infographics and websites to invoices and product images. So whether you own an online store, small business website, or WordPress blog, Canva is your all-in-one tool for all things graphic design.
Pricing: Canva is free to use, but if you want some of their premium templates, photos, or icons, we suggest their Pro Plan, which starts at $14.99 per month.
Related: You may also want to see our picks of the best Canva alternatives for website graphics.
2. Pablo by Buffer
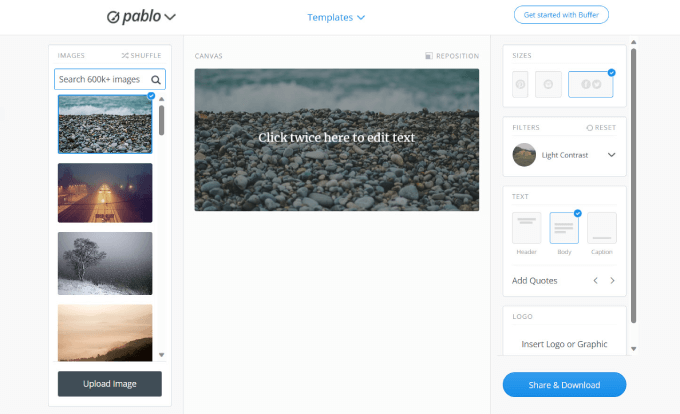
Pablo by Buffer is a minimalist tool that lets you easily place text or filters over images. It’s an easy tool if you just need to create simple headers, thumbnails, or social media posts.
While Buffer is known for their social media management app, they’ve expanded their services to include image editing as well.
There are no resizing options, so this site is best used for final touchups, such as adding captions or filters. It does have a built-in library of templates, fonts, stock images, and filters.
Pricing: Pablo by Buffer is free to use and doesn’t have any premium plans.
3. Piktochart

Piktochart is an easy-to-use infographic maker. Every blogger knows how powerful infographics can be to get more traffic and add credibility to their website.
The platform comes with over 600 professionally designed templates for infographics, presentations, posters, and reports.
Once you have chosen your template, you can simply drag and drop graphic elements to your canvas.
You can add your own charts and graphs, maps, icons, photos, and even videos. There are plenty of free images, icons, and illustrations that you can use in your project.
What’s great about Piktochart is that you can easily copy and paste your data from an Excel spreadsheet into the visual tool. All you need to do is to choose the visual format to present your data clearly.
Pricing: Piktochart is free to start with access to basic features but limited in storage. The Pro plan at $14 per month is great for small teams since it provides unlimited projects and gives you options to store brand templates.
4. Infogram
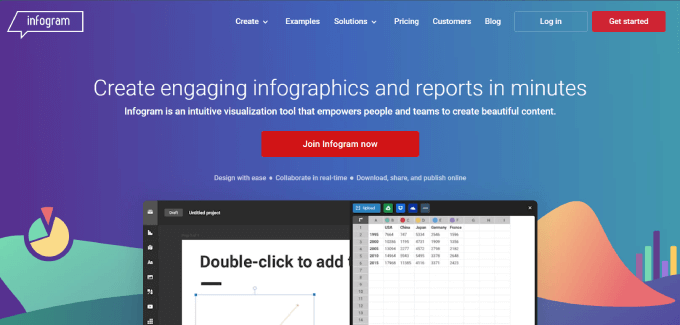
Infogram is the perfect tool for creating graphs, charts, and infographics. When you’re writing researched-backed articles or data-dense blog posts, you may want to add a few graphs to help readers visualize the key ideas.
If you want to create a statistics blog post, they have lists or facts and figures templates, so you can make your most important stats stand out. Let’s say you want to create a how-to blog or tutorial; Infogram has a flowchart widget you can add to visually show any step-by-step processes.
Also, you can connect your Google Sheets, Dropbox files, or a JSON file to the live charts. Add your own site logo so that all images are branded to your website.
Pricing: Infogram is free to get started and should be good enough for most individual writers. Small businesses may grab the Pro plan at $19 per month for more storage space, advanced image editing features, and premium templates.
5. Ribbet
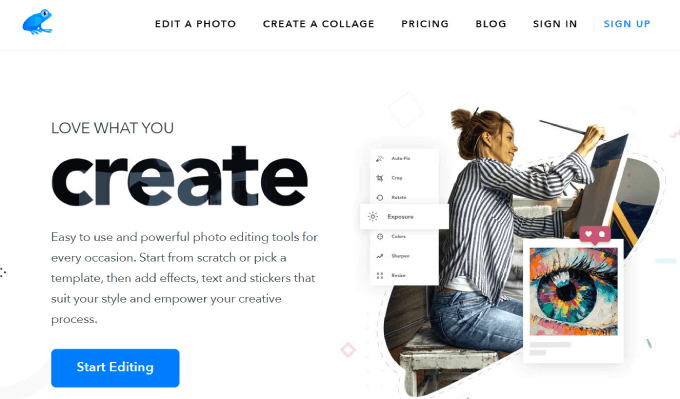
Ribbet is a very simple yet efficient photo editor for the web. It allows you to retouch your photos and adjust brightness, contrast, and exposure. You can also add text, stickers, borders, and icons.
Even if you’re not good with color-correcting photos, you can use the ‘Auto-Fix’ function. This interactive program automatically chooses the most optimal adjustments and applies them to your image.
If you need to make color corrections or touch up your blog images, Ribbet is a great choice.
Ribbet also makes it easy to create collages from your photographs. Just choose from their variety of collage layouts and upload your own images to each slot.
Pricing: Ribbet is free to start using, and their paid plan is available for $3.33 per month.
6. QuotesCover
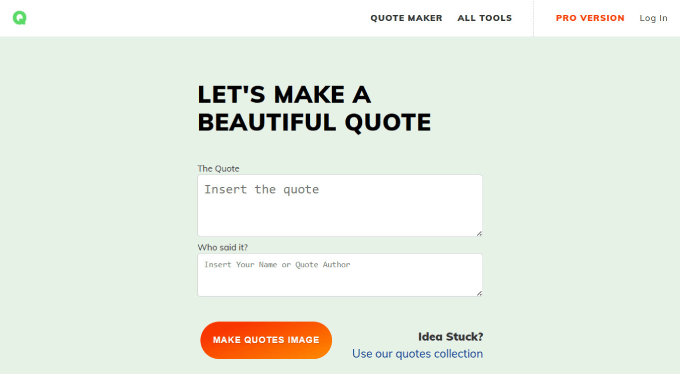
QuotesCover helps you share beautiful quotes with gorgeous designs, beautiful typography, and visual effects.
Quotes can be used to support claims and arguments in your blog or promote your brand on Instagram or social media. When you strategically use quotes in your blog, especially from an industry expert, you can add credibility to your points.
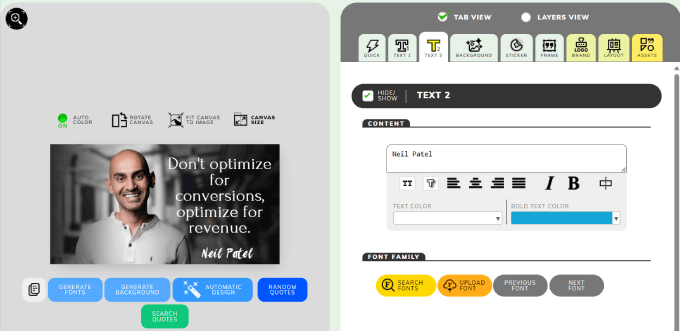
The tool lets you choose fonts, use stickers, and even add your brand logo. You can upload your own background images and then use the app’s built-in tool to adjust colors, contrast, effects, etc.
Here’s an example of a quote we made using Neil Patel’s words:
If you want to add quotes to your blog, check out our guide on how to show random quotes in the WordPress sidebar.
Pricing: It’s free to use, but their Pro plan starts at $2.50. You get all ads removed, logo branding, the ability to use your own fonts, and other advanced features.
7. Pixlr
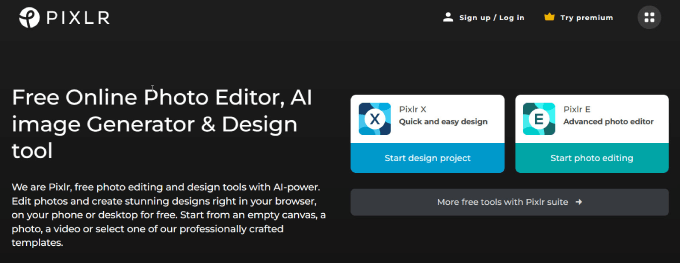
Pixlr is a great choice if you don’t want to spend on expensive photo editing software.
It’s a free online photo editing tool designed for beginners and non-designers but still has many of the same features that you would find on Photoshop.
There are plenty of pre-made templates, so you can customize your images to fit your content needs. For example, you can easily change your blog post featured image into a social media post, LinkedIn carousel, or even a YouTube banner.
You get a variety of handy features like background removal, object removal, texts, and other elements. Pixlr even has a new AI tool that delivers realistic images based on your prompt. All you have to do is write a descriptive prompt that accurately describes what you want or don’t want in the image.
Here’s an example of an image we created with a simple prompt:
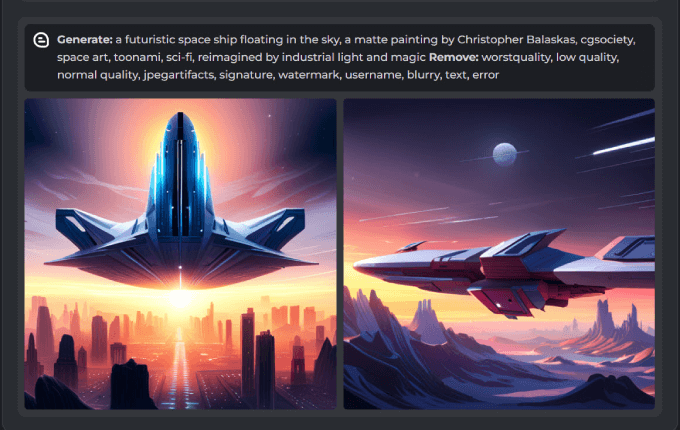
If you want a simple yet powerful image tool to create unique custom images, Pixlr can practically do it all.
Pricing: Pixlr is super affordable. You can access essential features for free or upgrade to their Premium plan at $7.99 per month for access to 50,000 templates, overlays, fonts, and elements.
8. Adobe Express

Adobe Express is a cloud-based photo editing software that allows users to create professional-quality designs. The main goal of Adobe Express is to bring the advanced features of Photoshop and Illustrator to beginners and lower the learning curve. You can edit each project by adding text, filters, or other graphic elements.
Adobe is the biggest name in graphic design, and it’s no surprise they have an app for making blog post graphics. While this tool isn’t as well known as Adobe Photoshop or Illustrator, it’s the perfect tool for people looking to create graphics for blog posts or social media. Best of all, it’s free to get started.
They even offer generative AI featuring text-to-image tools and text effects. Just write a prompt, and it’ll come up with unique images and text styles for you.
It works similarly to Canva in that you can get to choose the image templates. Then, it gives you a graphic editor where you can crop and add visual elements, grids, and other media.
What’s great about Adobe is that you get access to their entire ecosystem of tools. So, if you’re already an Adobe user, you can access their other tools like Adobe Stock and Fonts to further enhance your blog post images.
Pricing: It’s free to use, but if you want access to over 25,000 licensed Adobe fronts, 195+ million stock photo collections, and extended features, you can up to their premium plan starting at $9.99 per month.
9. Droplr

Droplr is a great screen-capturing tool that lets you take screenshots and save them in the cloud with a link so you can share them with anyone.
Incorporating screenshots into your blog posts can add can context and make your content more engaging and helpful. You can see this in any of our tutorials and beginner’s guides here at WPBeginner.
It comes with an editor that lets you make annotations such as adding texts, drawing arrows, blurring sensitive information, or incorporating red boxes. This is perfect for tutorials where you want to clearly showcase what users should be focusing on.
Droplr has a Windows and Mac downloadable application along with a Google Chrome extension, so just about anyone can access the tool.
Pricing: Droplr starts at $6 per month, giving you all the essential features you need.
10. Snagit
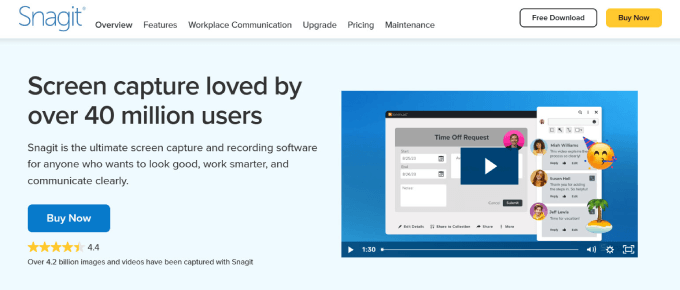
Snagit is another great screenshot tool, perfect for individuals and business teams that use visual instructions. The platform lets you easily take screenshots or screen recordings.
All of your content is saved on the cloud, so you can easily keep all screenshots organized.
One of the best features is their ‘smart move’ function. Snagit recognizes elements in your screenshot, granting you access to rearrange or remove UI elements.
Let’s say you want to remove a button or area of an image and replace it with a different screenshot. Smart Move helps you customize screenshots and make annotations so your blog post images are easy to understand.
Pricing: Snagit has a one-time fee of $62.99.
11. TinyPNG
TinyPNG is the secret tool we use at WPBeginner to size images for the web without losing quality.
Images that are large in file size take longer to load and can slow down your website. By simply reducing the file size of your images, you can drastically help your site load faster, reduce your bounce rate, and improve your WordPress SEO.
TinyPNG is an image compressor that reduces the image file size while maintaining quality. You can choose an image file you want to compress, such as PNG, JPEG, or WebP formats, and it’ll compress the image down to its optimal size. Then, you can save the compressed image and add it to your WordPress blog.
Pricing: This tool is completely free to use. Their Basic plan starts at $15 per month, giving you 10GB per month of bandwidth and unlimited media library size.
12. Photopea
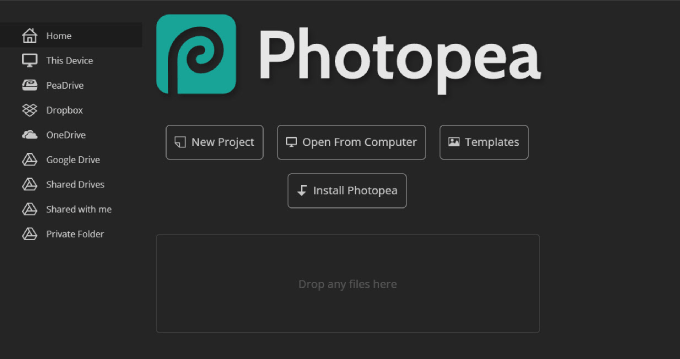
Photopea is a free advanced image editing software that resembles popular platforms such as Photoshop. It uses a browser interface with most editing tools on the side or top bar panel.
The software comes packed with plenty of features you’d expect from paid image editing software. These include smart objects, text tools, brush tools, layers, history, and more.
We like Photopea because it’s free to use without having to upgrade to paid plans. You don’t even need to sign up for an account. Simply go to the website and begin using the editor.
It’s also compatible with a wide range of file formats such as JPG, PNG, WebP, GIF, SVG, PSD, XD, PDF, and more.
Blog images should be sized to fit the width of your blog’s theme. Photopea uses vector editing, meaning photos can be scaled up or down without loss of quality. That means you can easily resize images, getting them to match the aesthetics of your website.
The tool has a great layering function, allowing you to add images on top of your existing one. For blog images, you may want to add annotations, a magnifying effect, or combine multiple images.
Photopea is more of an editing software, meaning it doesn’t have the templates that Canva or other design platforms have. That said, we recommend doing your editing in Photopea and then throwing it onto a platform with templates to create infographics, collages, or anything else you have in mind.
Pricing: This editing software is completely free to use.
13. DreamStudio
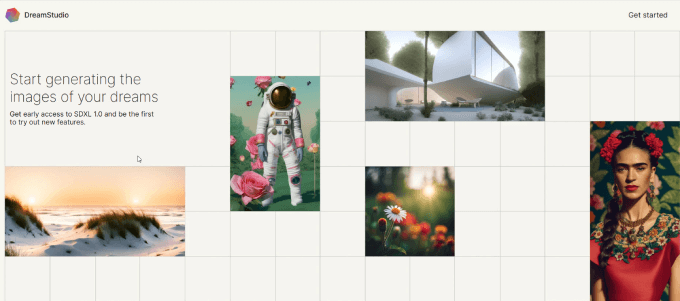
Dreamstudio is the ultimate AI-generation image tool for creating awe-inspiring, vivid images based on your text prompt.
If you’re tired of dull stock photos, you may want to consider adding custom images. Unfortunately, hiring designers can be expensive, especially if you’re on a shoestring budget. The good news is that DreamStudio is relatively cheap to use.
Artificial intelligence (AI) has changed the game, allowing anyone to receive custom images. While the images can be hit or miss, learning how to prompt can help.
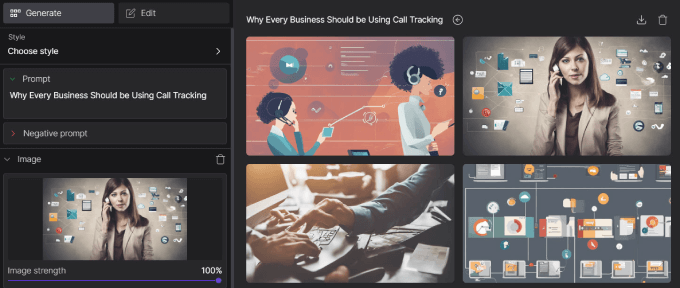
With each image creation, you can customize the styles that fit your preferences, such as:
- Digital art
- Comic book
- Anime
- Photographic
You can even include a negative prompt, telling the AI system what not to include.
If you want to create custom-featured blog images, you may want to check out DreamStudio. We’ve tested it ourselves and found that it can create usable images.
Pricing: For $10, you get 1,000 credits, which generates about 5,000 images.
Resources for Creating Images for Blog Posts
- Giphy: While not all blog posts need GIFs, your blog may have a more casual style. GIFs are entertaining. Massive blocks of text are a proven way to bore readers and get them to click off your site. Giphy is a great place to find just about any GIF to represent the sentiment you want to convey in your blog posts. You can even make your own gifs by uploading an image or video and adding text and stickers.
- Stock photo library: If you’re worried about copyright laws or want free photos, then you want to use a quality stock library website like Unsplash or Pixabay. These sites are one of the most popular sites for finding royalty free images.
- Iconfinder: Need an icon to add to your blog images, thumbnails, or even social media images? Iconfinder has millions of icons, illustrations, and stickers for your graphics. Just search the keyword you’re looking for and download as many icons as you need based on the credits you purchase.
Once you’ve created you’re beautifully designed and optimized blog images; you need to make sure you’re properly adding them in WordPress. That way, you can find those images easily later, and search engine bots can easily understand what your images are about.
We hope this article helped you find some great tools to create better images for your WordPress blog posts. You may also want to see our guide on how to write a great blog post or our article on the must-have WordPress plugins for business websites.
If you liked this article, then please subscribe to our YouTube Channel for WordPress video tutorials. You can also find us on Twitter and Facebook.


Syed Balkhi says
Hey WPBeginner readers,
Did you know you can win exciting prizes by commenting on WPBeginner?
Every month, our top blog commenters will win HUGE rewards, including premium WordPress plugin licenses and cash prizes.
You can get more details about the contest from here.
Start sharing your thoughts below to stand a chance to win!
Mrteesurez says
Thanks for the list.
It’s not a news again that reader values and tend to stay more on a website that is visually appealing than the one with just text. Infact Images and videos are quickly attract the attention of readers.
This list has combined great tool to create image for your blog. I used Canva, Tinypng. I have learnt more about others here in this guide.
Thanks for sharing it.
Dennis Muthomi says
I think you will fall in love with Piktochart as well….haha!
it has been my go-to tool for creating engaging infographics for blog posts – it has save me a ton of money I pay to graphic designers – such a lifesaver !
Jiří Vaněk says
Yes, I use Canva regularly for creating infographics. It’s great and very user-friendly. I use the free version, and the only drawback I see, which might be because I haven’t found a suitable built-in solution, is that I can’t export images in the webp format and have to use an external tool. But it’s possible that I just haven’t found it, or it might be in the paid version, which I don’t have.
jagdish singh says
hi it is a great post
WPBeginner Support says
Thank you
Admin
Mathukutty P. V. says
I am using Canva and found good.
Peter says
Thank You So Much
Dheeraj says
Afterlight is another great photo editing app. There’s a desktop version too.
Dwayne says
Thank you for all the great image resources. I’ll be tinkering with these over the next week to find my image groove.