WPBeginner

Beginner's Guide for WordPress

  • Blog
    • Beginners Guide
    • News
    • Opinion
    • Showcase
    • Themes
    • Tutorials
    • WordPress Plugins
  • Start Here
  • Deals
  • Glossary
  • Videos
  • Products
X
☰
Beginner's Guide for WordPress / Start your WordPress Blog in minutes
Choosing the Best
WordPress Hosting
How to Easily
Install WordPress
Recommended
WordPress Plugins
View all Guides

WPBeginner» Blog» Themes» Adding Additional Default Headers to the WordPress Twenty Ten Theme

Adding Additional Default Headers to the WordPress Twenty Ten Theme

Last updated on June 22nd, 2012 by Editorial Staff
6 Shares
Share
Tweet
Share
Special WordPress Hosting offer for WPBeginner Readers
Adding Additional Default Headers to the WordPress Twenty Ten Theme

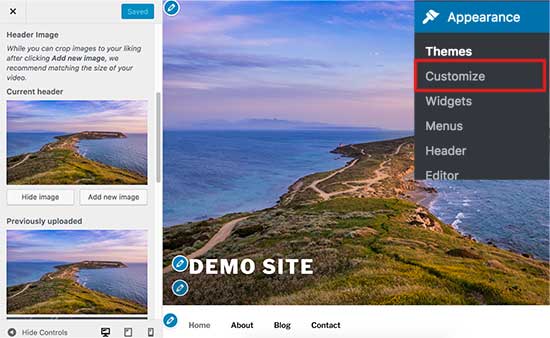
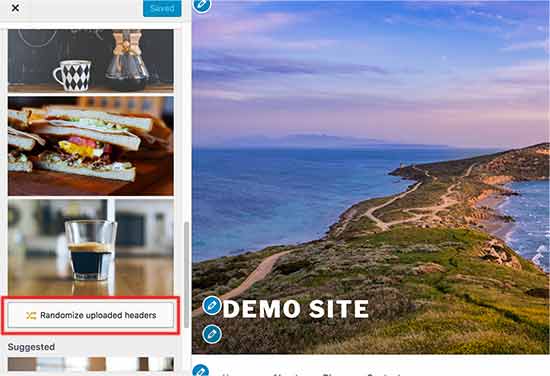
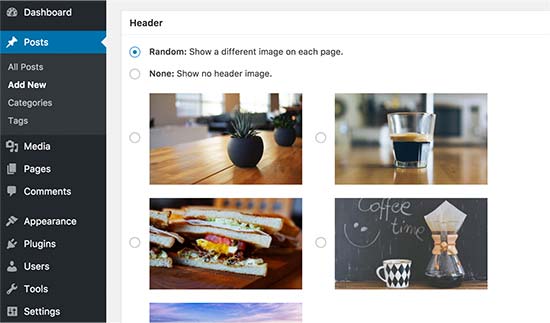
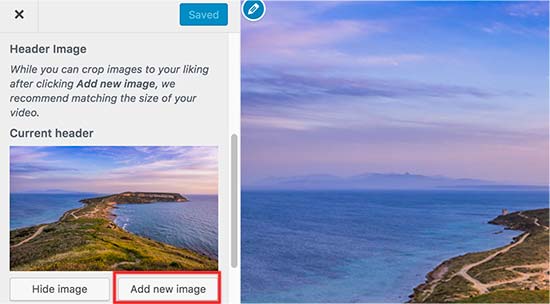
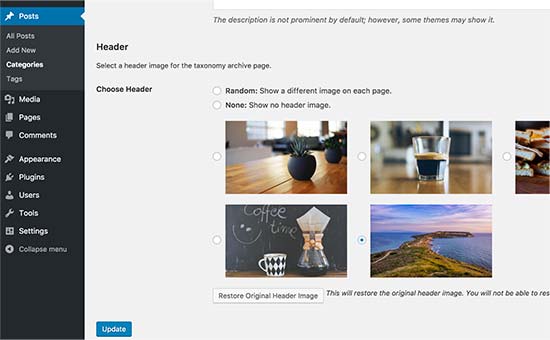
The Twenty Ten theme comes with eight default headers. Any default header that you set is replaced with the “featured image” of a post. You can only see the new header when viewing that post. In this week’s WordPress Quick Tip we’ll see how simple it is to add additional headers to the Header’s Panel.

Watch the Screencast

Functions.php

Open up the functions.php file of the Twenty Ten theme. Locate the following section:

// Default custom headers packaged with the theme. %s is a placeholder for the theme template directory URI.

What follows is an array listing the current default headers and their location. To add your own, add a comma after the last parenthesis of the array of sunset header. Here’s an example of what it can look like after adding two more headers:

register_default_headers( array(
‘berries’ => array(
‘url’ => ‘%s/images/headers/berries.jpg’,
‘thumbnail_url’ => ‘%s/images/headers/berries-thumbnail.jpg’,
/* translators: header image description */
‘description’ => __( ‘Berries’, ‘twentyten’ )
),
‘cherryblossom’ => array(
‘url’ => ‘%s/images/headers/cherryblossoms.jpg’,
‘thumbnail_url’ => ‘%s/images/headers/cherryblossoms-thumbnail.jpg’,
/* translators: header image description */
‘description’ => __( ‘Cherry Blossoms’, ‘twentyten’ )
),
‘concave’ => array(
‘url’ => ‘%s/images/headers/concave.jpg’,
‘thumbnail_url’ => ‘%s/images/headers/concave-thumbnail.jpg’,
/* translators: header image description */
‘description’ => __( ‘Concave’, ‘twentyten’ )
),
‘fern’ => array(
‘url’ => ‘%s/images/headers/fern.jpg’,
‘thumbnail_url’ => ‘%s/images/headers/fern-thumbnail.jpg’,
/* translators: header image description */
‘description’ => __( ‘Fern’, ‘twentyten’ )
),
‘forestfloor’ => array(
‘url’ => ‘%s/images/headers/forestfloor.jpg’,
‘thumbnail_url’ => ‘%s/images/headers/forestfloor-thumbnail.jpg’,
/* translators: header image description */
‘description’ => __( ‘Forest Floor’, ‘twentyten’ )
),
‘inkwell’ => array(
‘url’ => ‘%s/images/headers/inkwell.jpg’,
‘thumbnail_url’ => ‘%s/images/headers/inkwell-thumbnail.jpg’,
/* translators: header image description */
‘description’ => __( ‘Inkwell’, ‘twentyten’ )
),
‘path’ => array(
‘url’ => ‘%s/images/headers/path.jpg’,
‘thumbnail_url’ => ‘%s/images/headers/path-thumbnail.jpg’,
/* translators: header image description */
‘description’ => __( ‘Path’, ‘twentyten’ )
),
‘sunset’ => array(
‘url’ => ‘%s/images/headers/sunset.jpg’,
‘thumbnail_url’ => ‘%s/images/headers/sunset-thumbnail.jpg’,
/* translators: header image description */
‘description’ => __( ‘Sunset’, ‘twentyten’ )
),
‘waterfall’ => array(
‘url’ => ‘%s/images/headers/waterfall.jpg’,
‘thumbnail_url’ => ‘%s/images/headers/waterfall-thumbnail.jpg’,
/* translators: header image description */
‘description’ => __( ‘Waterfall’, ‘twentyten’ )
),
‘mountain’ => array(
‘url’ => ‘%s/images/headers/mountain.jpg’,
‘thumbnail_url’ => ‘%s/images/headers/mountain-thumbnail.jpg’,
/* translators: header image description */
‘description’ => __( ‘Mountain’, ‘twentyten’ )
)
) );

Lets dissect the code a little bit.

register_default_headers : This is the function that creates and displays our default headers. It accepts an array of parameters.

name: Sets a value with our headers name. We can then set an array of additional values and keys.

url: Relative path to the header image. Notice that the current path is /images/headers/image_name.jpg

thumbnail_url: Relative path to a thumbnail of the header image. Current path is /images/headers/image_name-thumbnail.jpg

description: A description of the image. This would be display upon hovering over the image inside the Headers Panel.

Things to Note

The Twenty Ten header is 940×198, anything bigger than that would be resized; anything smaller would be stretch to fit those dimensions. The thumbnail images can be set to any dimensions, 230×48 is the default. The images can only be .jpg or they will be ignored and won’t be displayed.

6 Shares
Share
Tweet
Share
Popular on WPBeginner Right Now!
  • Why Build Your Email List Today

    Revealed: Why Building Your Email List is so Important Today!

  • How to Properly Move Your Blog from WordPress.com to WordPress.org

  • Checklist

    Checklist: 15 Things You MUST DO Before Changing WordPress Themes

  • Step by Step Guide: How to Start a Podcast with WordPress

    How to Start Your Own Podcast (Step by Step)

About the Editorial Staff

Editorial Staff at WPBeginner is a team of WordPress experts led by Syed Balkhi. Page maintained by Syed Balkhi.

The Ultimate WordPress Toolkit

11 Comments

Leave a Reply
  1. Horst says:
    Oct 5, 2010 at 3:03 am

    Hey, thanks a lot for that tuturial. You saved may day!

    Regards
    Horst

    Reply
  2. neocelt says:
    Aug 30, 2010 at 5:50 pm

    Thanks so much for this great post, the information is really clear and well presented. I do have one question though …

    ‘%s’ – my childtheme still references the images from the parent twenty ten image directory. I’ve made various attempts in functions.php to try and get my child theme to ref it’s own childtheme/images/headers/ files but to no avail. I’m relatively new to both wordpress and php, if you have any pointers they’d be much appreciated.

    Reply
    • Editorial Staff says:
      Aug 31, 2010 at 9:01 am

      You can add your theme directory hook like you would in header.php file.

      Reply
    • Piet says:
      Sep 3, 2010 at 11:08 am

      It is actually strange that WPBeginner recommends people to tinker with the Twenty Ten theme files directly. As soon as the theme receives an update, all your hard labor will be gone! WordPress recommends to make a child theme and then your code won’t work. The correct way of adding it to your functions.php is not with %s but by adding the following code:

      //Add additional headers
      function yourchildtheme_setup(){

      $yourchildtheme_dir = get_bloginfo(‘stylesheet_directory’);
      register_default_headers( array (
      ‘image1’ => array (
      ‘url’ => “$yourchildtheme_dir/images/image1.jpg”,
      ‘thumbnail_url’ => “$centipede_dir/images/thumbs/image1.jpg”,
      ‘description’ => __( ‘Image Description’, ‘yourchildtheme’ )
      ), // if you have more than one image you will need a comma between all of them, except for the last one
      ‘image2’ => array (
      ‘url’ => “$yourchildtheme_dir/images/image2.jpg”,
      ‘thumbnail_url’ => “$centipede_dir/images/thumbs/image2.jpg”,
      ‘description’ => __( ‘Image Description’, ‘yourchildtheme’ )
      ) // the last image does not get a comma
      ));
      }
      add_action( ‘after_setup_theme’, ‘yourchildtheme_setup’ );

      For a full explanation, please visit http://wp.me/pNIxD-1l

      Reply
  3. Renato says:
    Jul 31, 2010 at 9:50 am

    Great post!
    Easy to do, but hard to find other tutorials on the subject. Thanks for that!

    Reply
  4. Rob Smelik says:
    Jul 14, 2010 at 10:38 am

    Excellent post I was wondering how to get my own defualt set of header images to load on the back end.

    It’s a shame that when you upload a new header it doesn’t add it to the default set. It does add it to the media library but then they don’t give you a way of navigating to those images you have already uploaded… strange. I can’t complain too much though because Twenty Ten is an amazing theme far better than Kubrick ever was.

    Anyway thanks for the workaround!

    Reply
  5. Shirley says:
    Jul 7, 2010 at 10:09 pm

    how do we change the size of the Twenty Ten header from 940×198 to something else?

    Reply
    • Editorial Staff says:
      Jul 8, 2010 at 8:39 am

      By creating a child theme that modifies the styling of a Twenty Ten theme.

      Reply
      • Shirley says:
        Jul 9, 2010 at 11:17 pm

        i would like to modify the twenty-ten theme itself. where can i do this without creating a child theme? thx

        Reply
        • Editorial Staff says:
          Jul 10, 2010 at 2:47 pm

          You can modify the actual theme by editing the theme files located in your wp-content/themes/ directory. To add more images to your main twenty theme, then follow the guidelines in this article.

  6. Jae Xavier says:
    Jul 7, 2010 at 1:43 pm

    Simple enough for beginner like me.

    Textmate is awesome btw!

    Reply

Leave a Reply Cancel reply

Thanks for choosing to leave a comment. Please keep in mind that all comments are moderated according to our comment policy, and your email address will NOT be published. Please Do NOT use keywords in the name field. Let's have a personal and meaningful conversation.

Over 600,000+ Readers

Get fresh content from WPBeginner

Featured WordPress Plugin
MonsterInsights
MonsterInsights
Google Analytics made easy for WordPress. Learn More »
How to Start a Blog How to Start a Blog
I need help with ...
Starting a
Blog
WordPress
Performance
WordPress
Security
WordPress
SEO
WordPress
Errors
Building an
Online Store
Useful WordPress Guides
    • 7 Best WordPress Backup Plugins Compared (Pros and Cons)
    • How to Fix the Error Establishing a Database Connection in WordPress
    • Why You Need a CDN for your WordPress Blog? [Infographic]
    • 25 Legit Ways to Make Money Online Blogging with WordPress
    • Self Hosted WordPress.org vs. Free WordPress.com [Infograph]
    • Free Recording: WordPress Workshop for Beginners
    • 24 Must Have WordPress Plugins for Business Websites
    • How to Properly Move Your Blog from WordPress.com to WordPress.org
    • 5 Best Contact Form Plugins for WordPress Compared
    • Which is the Best WordPress Popup Plugin? (Comparison)
    • Best WooCommerce Hosting in 2018 (Comparison)
    • How to Fix the Internal Server Error in WordPress
    • How to Install WordPress - Complete WordPress Installation Tutorial
    • Why You Should Start Building an Email List Right Away
    • How to Properly Move WordPress to a New Domain Without Losing SEO
    • How to Choose the Best WordPress Hosting for Your Website
    • How to Choose the Best Blogging Platform (Comparison)
    • WordPress Tutorials - 200+ Step by Step WordPress Tutorials
    • 5 Best WordPress Ecommerce Plugins Compared
    • 5 Best WordPress Membership Plugins (Compared)
    • 7 Best Email Marketing Services for Small Business (2018)
    • Which is the Best WordPress Slider? Performance + Quality Compared
    • The Truth About Shared WordPress Web Hosting
    • When Do You Really Need Managed WordPress Hosting?
    • 5 Best Drag and Drop WordPress Page Builders Compared
    • How to Switch from Blogger to WordPress without Losing Google Rankings
    • How to Properly Switch From Wix to WordPress (Step by Step)
    • How to Properly Move from Weebly to WordPress (Step by Step)
    • Do You Really Need a VPS? Best WordPress VPS Hosting Compared
    • How to Properly Move from Squarespace to WordPress
    • 5 Best VPN Services for WordPress Users (Compared)
    • HostGator Review - An Honest Look at Speed & Uptime (2018)
    • SiteGround Reviews from 1032 Users & Our Experts (2018)
    • Bluehost Review from Real Users + Performance Stats (2018)
    • How Much Does It Really Cost to Build a WordPress Website?
    • How to Start a Podcast with WordPress (Step by Step)
    • How to Choose the Best Domain Name (8 Tips and Tools)
    • How to Setup a Professional Email Address with Google Apps and Gmail
    • How to Install Google Analytics in WordPress for Beginners
    • How to Move WordPress to a New Host or Server With No Downtime
    • Why is WordPress Free? What are the Costs? What is the Catch?
    • How to Make a Website in 2018 – Step by Step Guide
Deals & Coupons (view all)
MonsterInsights Coupon Code
MonsterInsights Coupon
Get 10% off MonsterInsights, the best Google Analytics plugin for WordPress.
De:comments for WordPress
De:Comments Coupon
Get 30% off on DeComments WordPress plugin. Exclusive offer for WPBeginner users only.
Featured In
About WPBeginner®

WPBeginner is a free WordPress resource site for Beginners. WPBeginner was founded in July 2009 by Syed Balkhi. The main goal of this site is to provide quality tips, tricks, hacks, and other WordPress resources that allows WordPress beginners to improve their site(s).

Site Links
  • About Us
  • Contact Us
  • FTC Disclosure
  • Privacy Policy
  • Terms of Service
  • Free Blog Setup
Our Sites
  • OptinMonster
  • MonsterInsights
  • WPForms
  • List25
  • Awesome Motive
  •  

Copyright © 2009 - 2018 WPBeginner LLC. All Rights Reserved. WPBeginner® is a registered trademark.

WordPress hosting by HostGator | WordPress CDN by MaxCDN | WordPress Security by Sucuri.