Typically, to get your contracts signed, you either have to manually print/scan the signature or pay for an expensive third-party e-sign service.
However, implementing a digital signature solution can enhance efficiency, reduce paperwork, and ensure legal compliance.
At WPBeginner, we understand the importance of efficient and legally binding contract management and have tested various plugins and tools to find the one that provides a secure way to add a digital signature.
In this article, we will show you how to easily add a contract agreement form to your WordPress website that people can e-sign.

Why Create an Online Contract Agreement Form?
An online contract agreement form is easy to fill out and submit. Normally, you’ll send the agreement as a PDF, which the other party will have to print, fill in, scan, and send back.
That’s a lot of work.
By creating an online contract agreement form on your WordPress website, users can fill it out right away and sign it digitally with an e-signature.
It does not require any overly priced SaaS software and works very well for many different kinds of legal documents.
For instance, you can use it to create a code of conduct form, employment forms, non-profit or volunteer application forms, and more.
Are Digital Signatures Legal?
Yes, digital signatures and digitally signed documents are legally enforceable. If both parties agree to digital signatures and the software used keeps a record of them, then they are considered legally binding contracts.
However, they cannot be used for all kinds of legal documents. For example, legal documents or forms that require to be notarized need court stamps or witnesses.
With that said, this article is not legal advice. Please consider a lawyer for practical legal advice and guidance.
Preparing Your Contract Agreement Form
If you don’t already have a contract drawn up, it’s a very good idea to consult a lawyer. You want to be sure that your contract is legal and that it won’t cause you any possible problems in the future.
Apart from the contract terms themselves, your contract form will probably need space for:
- The name of the person signing.
- The address of the person signing.
- The date the contract is signed.
- Space for your client (or new employee) to sign the contract.
That being said, let’s create a contract agreement form with a digital signature field in WordPress
You can click the links below to jump ahead to your preferred method:
Method 1: Create a Digitally Signed Contract Form Using WPForms
If you want to create a digitally signed contract form from your WordPress dashboard, then this method is for you.
First, you need to install and activate the WPForms plugin. For more details, see our step-by-step guide on how to install a WordPress plugin.
Note: WPForms also has a free version. However, for this tutorial, you’ll need the pro version of the WordPress plugin to unlock the Signature addon.
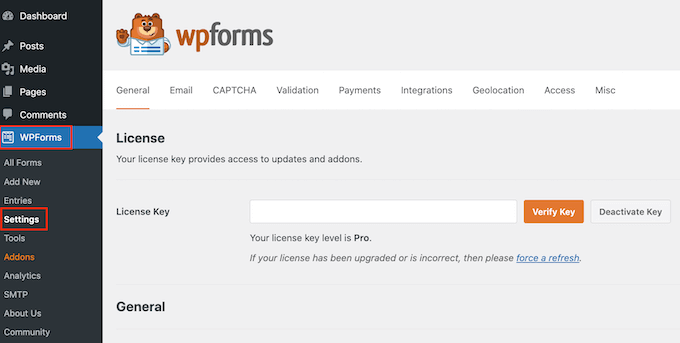
Upon activation, head over to the WPForms » Settings page to enter your license key.
You can find this information in your account on the WPForms website.
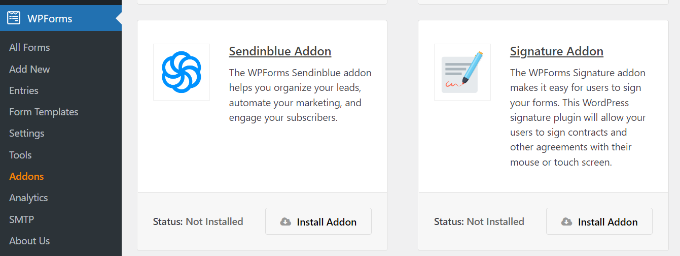
Next, you need to visit the WPForms » Addons page from the WordPress admin sidebar and go to the Signature addon.
From here, click the ‘Install Addon’ button, and the addon will be automatically installed and activated on your site.
You are now ready to create your contract agreement form with the digital signature feature.
Simply go to the WPForms » Add New page from the WordPress dashboard to create your form.
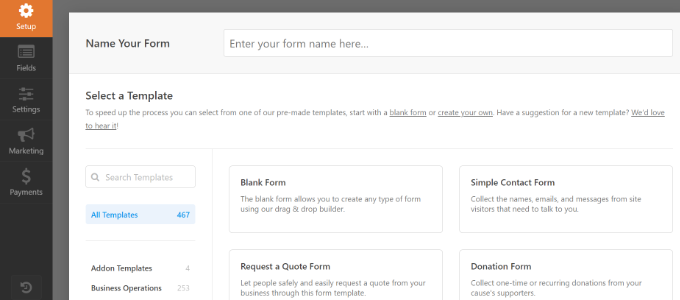
This will launch the WPForms form builder interface, where you need to provide a title for your form and then choose a template.
We’re going to use the ‘Blank Form’ template for this example, but you can choose a different one if you prefer. Just click on the template to load it.
You’ll probably want to include the text of your contract itself on the page above the form. This could consist of your signature as an image.
In the form itself, you just need to add the fields to fill in.
To add a new field, drag and drop it from the left column and into the template. You can rearrange fields by moving them up and down in the preview column.
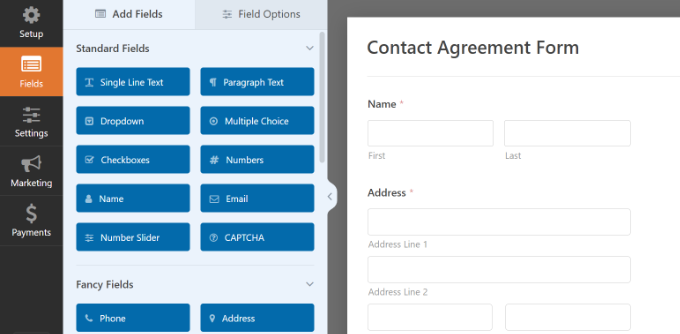
If you want to send a copy of the signed form to the user as well, then don’t forget to add an email field where users can provide their email addresses.
Once you’re happy with the fields you’ve added, it’s time to add the most important form field: the Signature field.
Scroll down to the ‘Fancy Fields’ section and click to add the Signature field to your form.
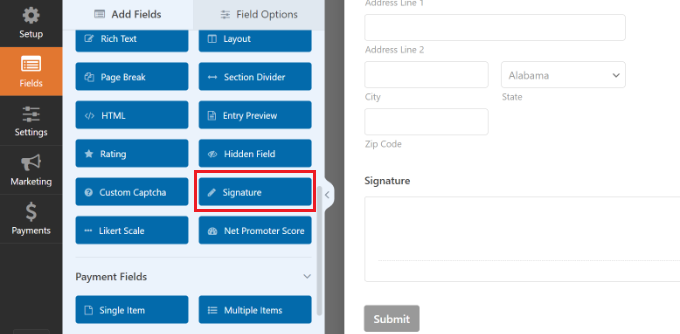
After that, click on the field to open its settings in the left column.
From here, you can change the title, add a description, or toggle the required switch so users won’t be able to submit the contract agreement without filling in this field.
Once you’ve done that, you can also switch to the ‘Advanced’ tab from the top to change the link color, adjust the field size, or add a CSS class to the field.
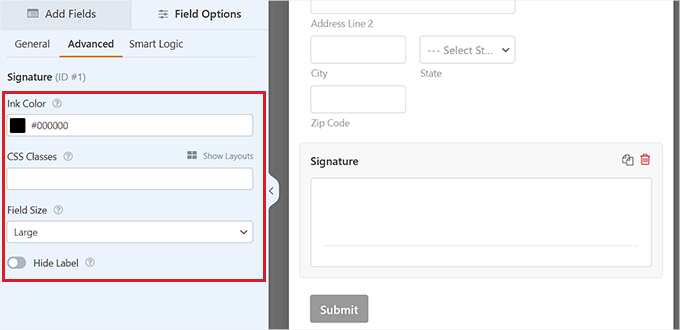
Configuring Your Contract Agreement Form’s Settings
Simply click on the ‘Settings’ tab to view your form’s settings. The default settings will work in most cases, but you may want to make some changes.
In particular, you’ll want to check that the ‘Notifications’ are correct.
By default, the signed contract agreement form will be sent to the administrator’s email address upon form submission. This is normally the email address of whoever set up your WordPress site. If that’s not you, then enter your email address here instead.
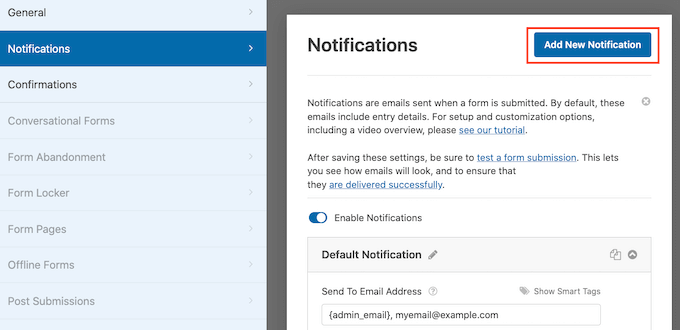
You may also want to send a copy of the form to the user as well. To do that, go to the Settings » Notifications tab and click on the ‘Add New Notification’ button.
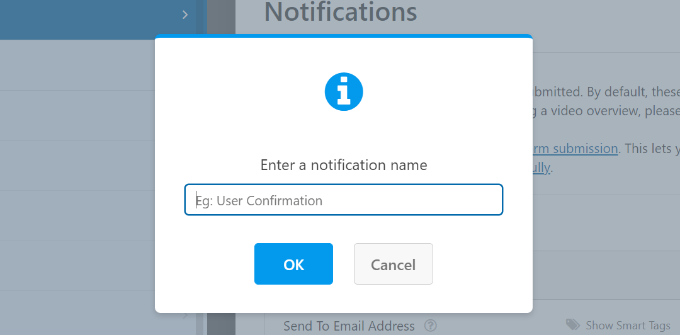
A popup window will now open, where you’ll need to add a name for your new notification. Let’s name it Send to User.
After entering a name, click the ‘OK’ button.
You should now see your new notification.
In the ‘Send to Email Address’ section, click on the Smart Tags link and select the Email field.
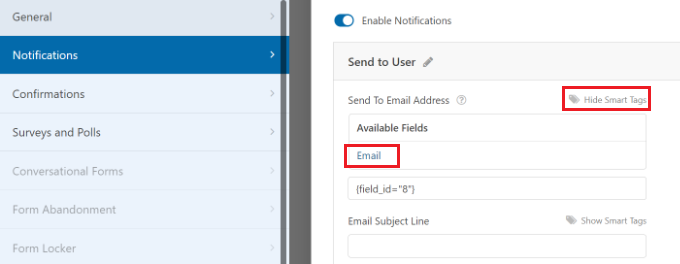
Review all other settings and adjust them to your requirements. WPForms will now send the form confirmation email to the user as well.
For detailed instructions, you may want to see our tutorial on how to create a contact form with multiple recipients.
Next, switch to the ‘Confirmation’ tab. From here, you can edit the confirmation message that the client (or employee or volunteer) signing the form will see.
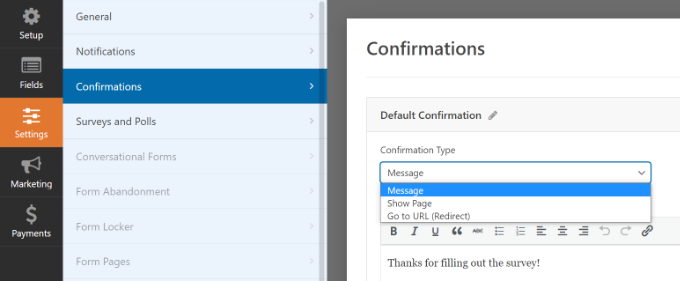
Once you are happy with the settings, just click the ‘Save’ button at the top of the screen. You can now close and exit the form builder.
Add Your Contract Agreement Form to Your Site
Finally, you need to embed your contract agreement form on your WordPress site.
You can create a new page or edit an existing one. First, you’ll need to add the text of your contract terms before including the form itself.
After that, simply add the WPForms block to your content area.
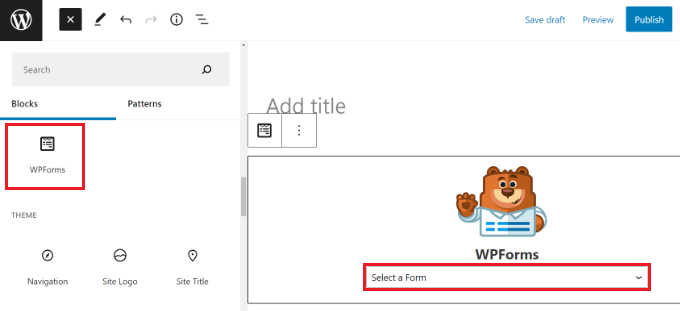
Select your contract agreement form from the drop-down box, and WPForms will automatically load a preview of the form in the content editor.
You can now save or publish your WordPress page to make your form publicly available.
After that, visit the page to see your contract agreement form in action. Don’t forget to test out the contract agreement form. You should be able to enter your signature using your mouse, trackpad, or touchscreen.
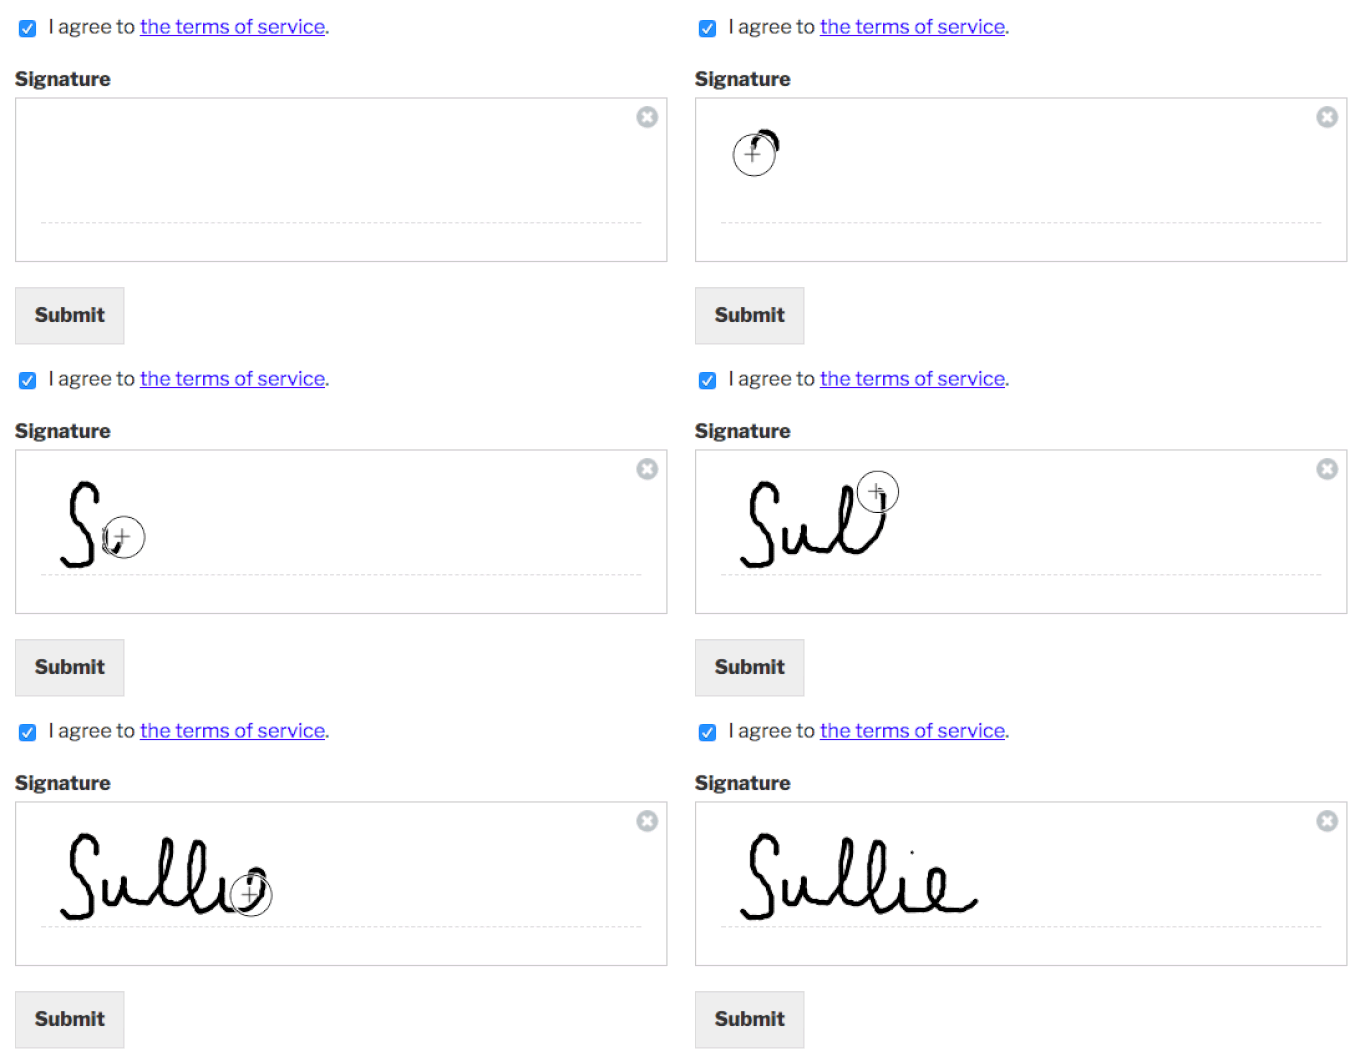
Make sure you see the confirmation message and receive an email after submitting the form.
If you don’t get an email, don’t worry. It’s quite a common problem, and we’ve got instructions on how to fix WordPress not sending emails.
Method 2: Digitally Sign Contract Forms Using signNow
If you already have forms or agreements created in PDF or Microsoft Word format and want to invite others to sign the contract, then you can use signNow.
You can use it to set up electronic signatures, generate agreements, negotiate contracts, collaborate with others, and more. The best part is that it offers a free trial.
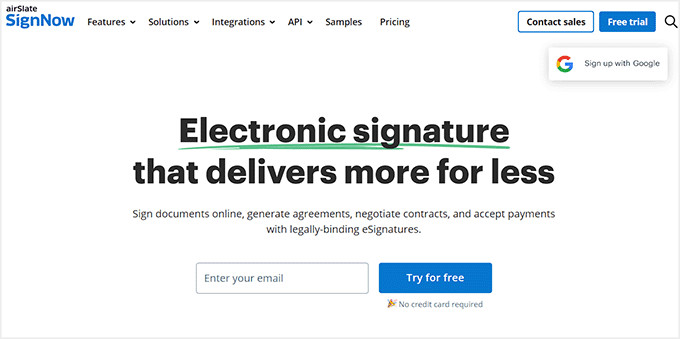
To start, visit the signNow website and click the ‘Free Trial’ button at the top. There is also an option to enter your email address and click the ‘Try for free’ button.
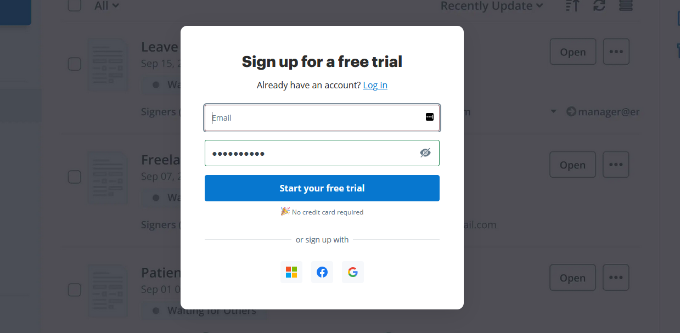
On the next screen, you’ll need to enter a password for your account.
signNow also lets you sign up using Facebook, Microsoft, or Google accounts to create an account.
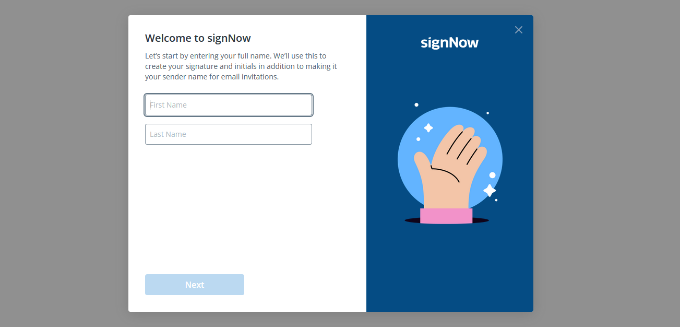
After that, you’ll see a welcome screen where you can enter your name to create a digital signature.
Once that’s done, click the ‘Next’ button.
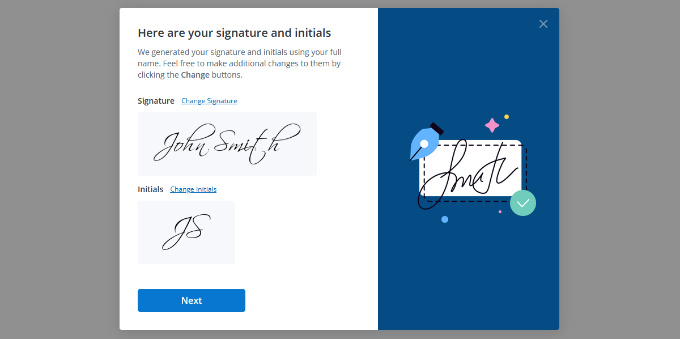
Next, signNow will show you a signature style and your initials.
If you want, you can change the style of your signature and then click the ‘Next’ button.
After that, you’ll need to select what interests you about signNow.
Simply select one or more options using the checkboxes and click the ‘Next’ button.

Then, you can invite others to collaborate on a document in signNow.
Simply enter the email addresses and click the ‘Invite’ button. You can also skip this step for now and invite people later.

You are now ready to use SignNow to add electronic signatures to your documents.
Simply click the ‘Upload Your First Document’ button to get started.

After that, upload a contract agreement document from your laptop or computer.
signNow will now load your contract in its document viewer.
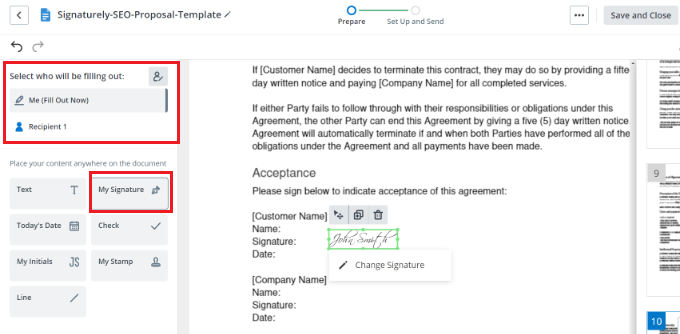
From the menu on your left, you can select who will be filling the document. For instance, select the ‘Me (Fill Out Now)’ option and then add your signature anywhere on the contract.
After that, you can change to ‘Recipient 1’ under the Select who will be filling out section. From here, add a ‘Signature’ element where you want others to sign the contract.
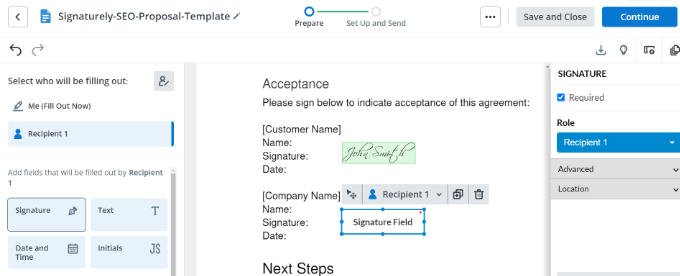
Next, go ahead and click the ‘Continue’ button at the top.
You can now enter the recipient’s email address and click the ‘Send Invite’ button.
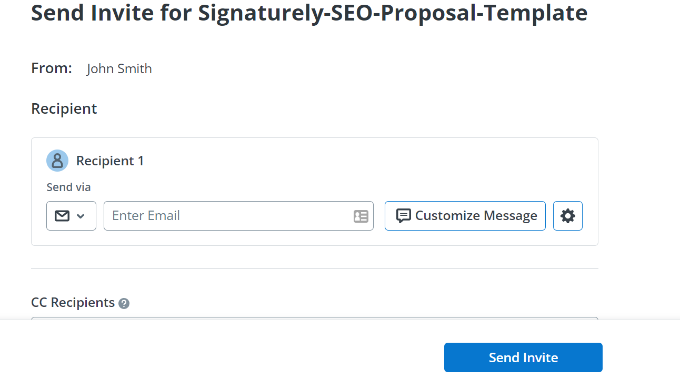
That’s it! Your recipients will now receive an email invite to sign the document. Once they send the signed contract back to you, signNow will keep a record of the signatures.
Bonus: Add Your Signature After Post Content
If you are an author on a WordPress blog, then you may also want to add a signature after your post content to establish your credibility. Adding a signature can also act as a copyright notice by asserting your ownership of the content.
To do this, you must install and activate the Ad Inserter – Ad Manager & AdSense Ads plugin. For details, see our tutorial on how to install a WordPress plugin.
Upon activation, visit the Settings » Ad Inserter page from the WordPress dashboard. Here, you will see multiple tabs at the top from where you can add signatures or ads to your site.
Now, you must add the text for the signature in the content editor on the page. You can also add an actual image of your sign by adding the following code and replacing it with your preferred image’s link.
<img src="link-to-image">
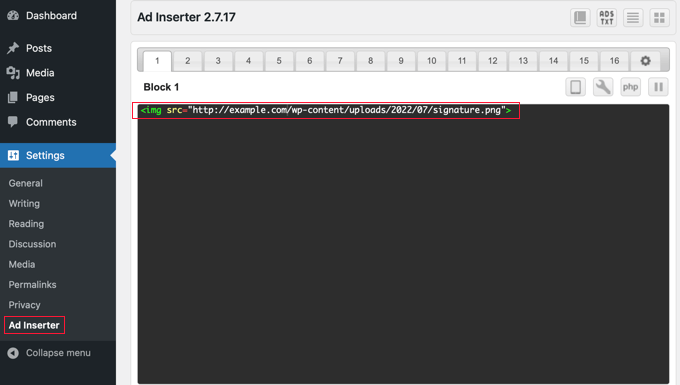
Next, scroll down on the page to configure your signature position. Here, you will see that the ‘Post’ option is already selected by default.
Now go ahead and choose the insertion point from the dropdown menu. To display the ad or signature after every post, you should select the ‘After content’ option.

Finally, don’t forget to click the ‘Save Settings’ button to store your settings.
For more detailed instructions, see our tutorial on how to add a signature or ads after the post content in WordPress.
We hope this article helped you learn how to create a contract agreement form with digital signatures in WordPress. You may also be interested in our beginner’s guide on how to choose the best domain registrar in WordPress and our expert picks for the best electronic signature software for WordPress.
If you liked this article, then please subscribe to our YouTube Channel for WordPress video tutorials. You can also find us on Twitter and Facebook.


Syed Balkhi says
Hey WPBeginner readers,
Did you know you can win exciting prizes by commenting on WPBeginner?
Every month, our top blog commenters will win HUGE rewards, including premium WordPress plugin licenses and cash prizes.
You can get more details about the contest from here.
Start sharing your thoughts below to stand a chance to win!
Justin says
Hi, after setting up a contract form, will it be possible to set a reminder to followup on the contract and also to prompt when a renewal is due on wordpress? Thanks.
WPBeginner Support says
Not at the moment with this setup
Admin
Tomeka says
Where are the submissions with the signature stored? Is just a email that is sent to whomever is supposed to receive the notification? Or is it stored in a backend database? Thanks.
WPBeginner Support says
It should be sent and stored in the plugin’s entries area
Admin
Aisha GArg says
Wow! Thank you for this really helpful article. This has been a headache for so long. I will definitely be implementing you points.
WPBeginner Support says
You’re welcome, glad we could simplify the process
Admin
Dan B says
Is there a way to make this form HIPAA compliant?
WPBeginner Support says
You would want to reach out to the plugin’s support for current HIPAA compliance capabilities
Admin
mahmudul Rubel says
Wow. Great content as well. learn always new from of your blog.
WPBeginner Support says
Thank you, glad our article could teach you something new
Admin
ebenezer says
please is there a video tutorial for this article?
WPBeginner Support says
While we do not have one at the moment, we do look at all of our articles for possible video guides in the future.
Admin
Cj Austintown says
Wow..
Thanks for this nice article.
WPBeginner Support says
You’re welcome
Admin